Schedule call
Kubernetes has emerged as the leading container orchestration solution, renowned for its ability to scale applications in a reliable and fault-tolerant way. It’s a powerful platform to manage the intricate life cycles of distributed applications. However, to reap all its benefits requires deploying a Kubernetes cluster infrastructure, which is a challenging and time-intensive task that demands technical expertise.
In this article, I will demonstrate methods to streamline your Kubernetes infrastructure deployment, ensuring that the difficulties of the Kubernetes setup won’t hinder your company’s plans on growth and adoption of innovations.
The intricacies of Kubernetes
Anyone who has tried to launch a Kubernetes cluster from scratch understands the complexity involved in the process. Many challenges arise, particularly with the Control Plane, which is responsible for managing the cluster. A practical solution to simplify this is to leverage managed services from cloud service providers and entrust them with the management of your cluster’s Control Plane.
However, the process doesn’t end there. Regardless of the managed service you select, configuration is still necessary to ensure everything functions smoothly. For example, when working with Elastic Kubernetes Service (EKS), a managed service provided by AWS, configuring IAM roles and setting up subnets in VPC are essential steps. This is where leveraging Cluster.dev becomes advantageous. By utilizing its repeatable templates, we can efficiently launch and configure a Kubernetes cluster along with all required add-ons. In this specific deployment, we will utilize a pre-built AWS-EKS template provided by Cluster.dev and customize it to meet our specific requirements.
Now that we have a functioning Kubernetes cluster, we can proceed with deploying our applications. This entails creating various Kubernetes resources, including deployments, services, ingress controllers, config maps, stateful sets, and more. To streamline this process and reduce time spent on writing YAML files and defining configurations, we will utilize pre-built Helm charts.
Helm is a package manager for Kubernetes, facilitating the installation of applications through charts. These charts are packaged sets of YAML files containing preconfigured resources necessary to run a container.
Using Helm is very convenient as it removes the necessity to manually create Kubernetes resources, as mentioned above. Instead, we can download pre-built charts from Helm’s public repositories and tailor them to our requirements. These repositories host charts for deploying commonly used software such as Consul, Jenkins, and SonarQube. Additionally, we have the flexibility to craft our own charts, thereby avoiding the need to write configuration files from scratch for frequently repeated deployments.
Setting up a Jenkins Service with Cluster.dev and Helm on Kubernetes
Let’s explore how we can integrate these services to deploy Jenkins on AWS EKS. Given that Cluster.dev natively supports Helm, we can leverage this to streamline our deployment process even further.
We’ll begin by configuring the necessary CLI tools required for this deployment. While this may require some initial time investment, it’s a one-time task. Once configured, you won’t need to repeat this setup process for future deployments.
- Terraform: for provisioning infrastructure to run a Kubernetes cluster.
- Cluster.dev: to orchestrate the whole process, with Terraform starting a Kubernetes cluster and Helm deploying the Jenkins service to it.
- AWS CLI: for interacting with our AWS account.
- kubectl: for the Kubernetes cluster management.
- Helm: to streamline the deployment to a Kubernetes cluster.
With all the essential CLI tools installed, we can utilize Cluster.dev to generate and deploy the Kubernetes infrastructure code. I will illustrate this process using the Cluster.dev’s AWS-EKS template, which I’ve preconfigured and customized previously.
To use the template, create a project folder and run within it the following command:
cdev project create https://github.com/sidathasiri/cdev-eks.git - interactive
The command will initiate an interactive guide that helps you configure the template:
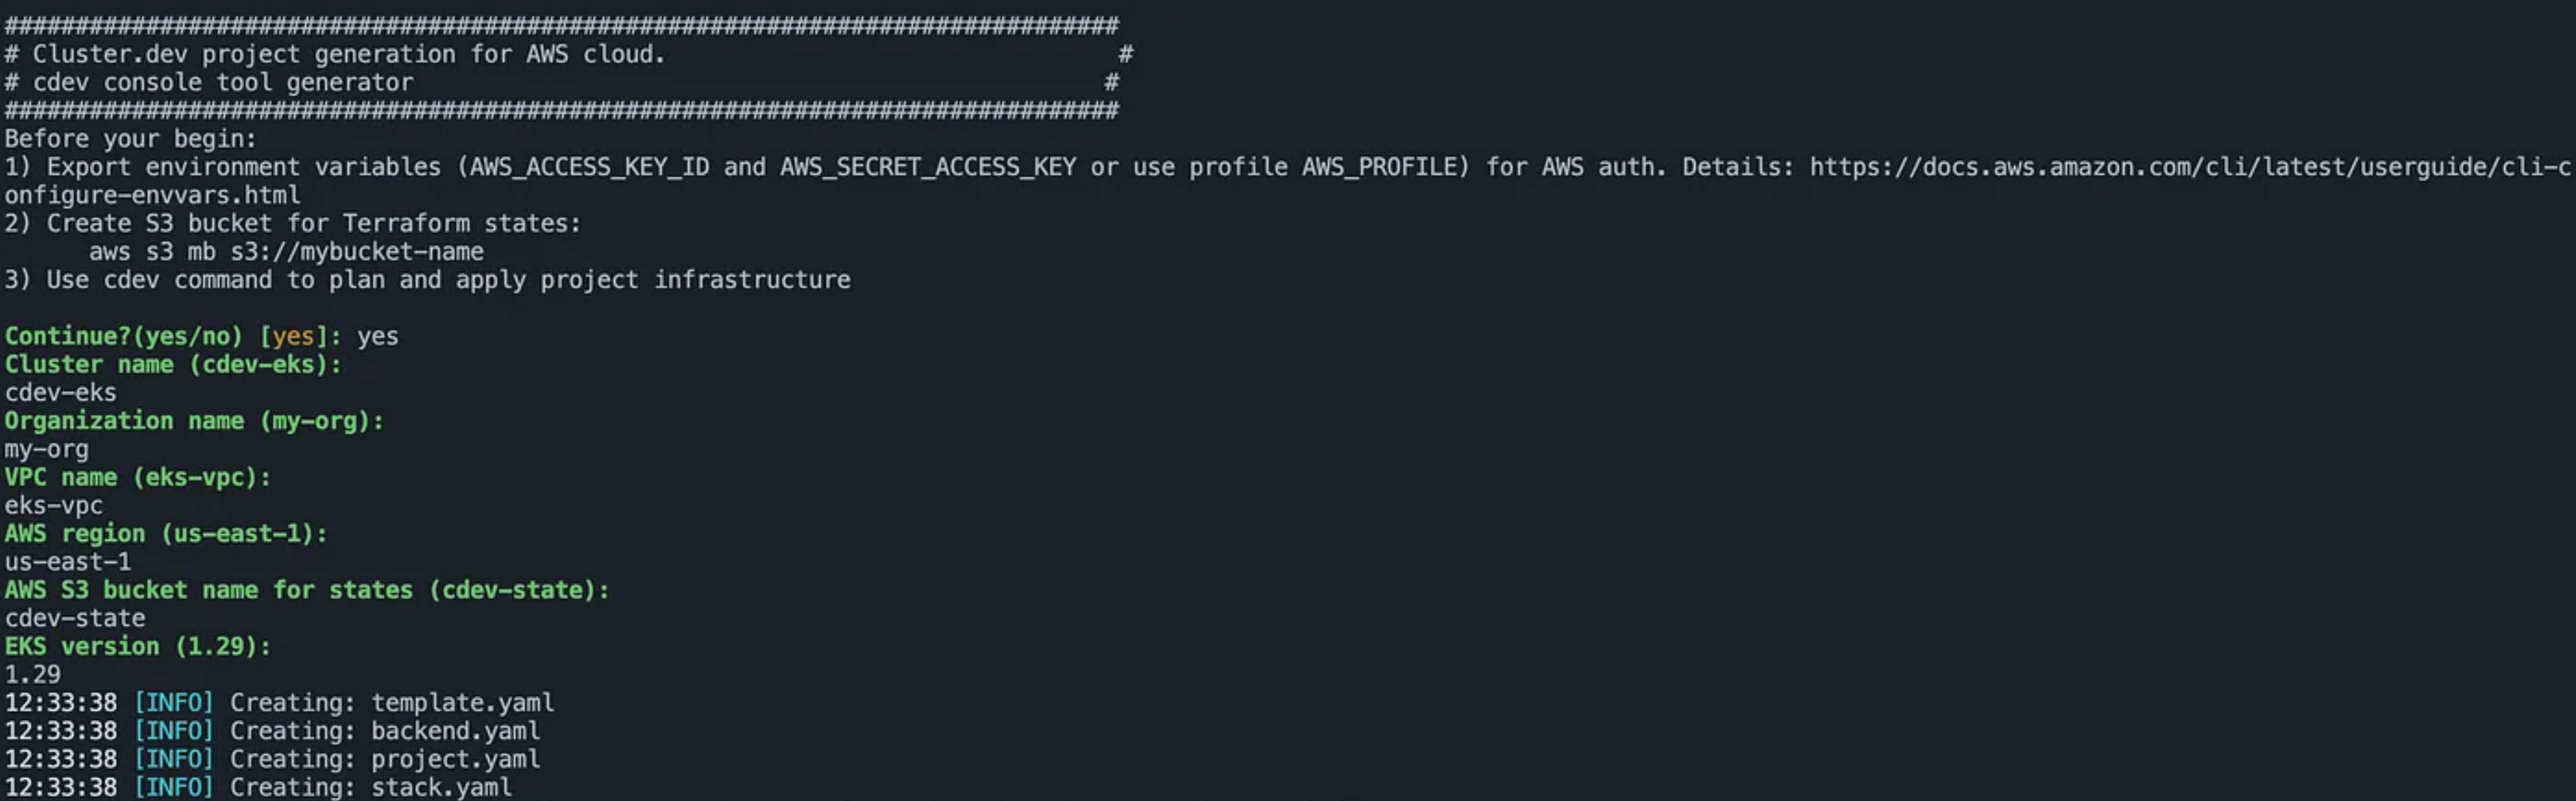
Now that we have a project generated with all the necessary configurations for deploying a Kubernetes cluster, let’s enhance it by deploying Jenkins using Helm. To accomplish this, we need to include some additional units in the template.yamlfile, as illustrated below. The first unit (kubeconfig) is a shell unit responsible for configuring the kubectl CLI to interact with our cluster. The second unit (jenkins) is a helm unit containing a Helm chart for deploying the Jenkins service to the cluster.
- name: kubeconfig
    type: shell
    depends_on: this.eksCluster
    force_apply: true
    apply:
      commands:
        - aws eks update-kubeconfig --region {{ .variables.region }} --name {{ .variables.cluster_name }}
- name: jenkins
  type: helm
  depends_on: this.kubeconfig
  kubeconfig: ~/.kube/config
  source:
    repository: 'https://charts.jenkins.io'
    chart: 'jenkins'
    version: '5.0.13'
  values:
      - file: ./helm/values.yaml
To make the Jenkins service accessible from the public internet, we need to create a load balancer Kubernetes service. This configuration can be provided using a values.yaml file located at template/helm/values.yaml path. The snippet below shows the content of that file.
controller:
  serviceType: LoadBalancer
For more details on implementation please check this GitHub repository.
And with that, upon running the command below, Cluster.dev will create a Kubernetes cluster and deploy the Jenkins service to it.
cdev apply - force
Once the deployment is complete, you’ll notice that the load balancer service has been created. To access the deployed Jenkins application, simply utilize the load balancer DNS address on the port8080.
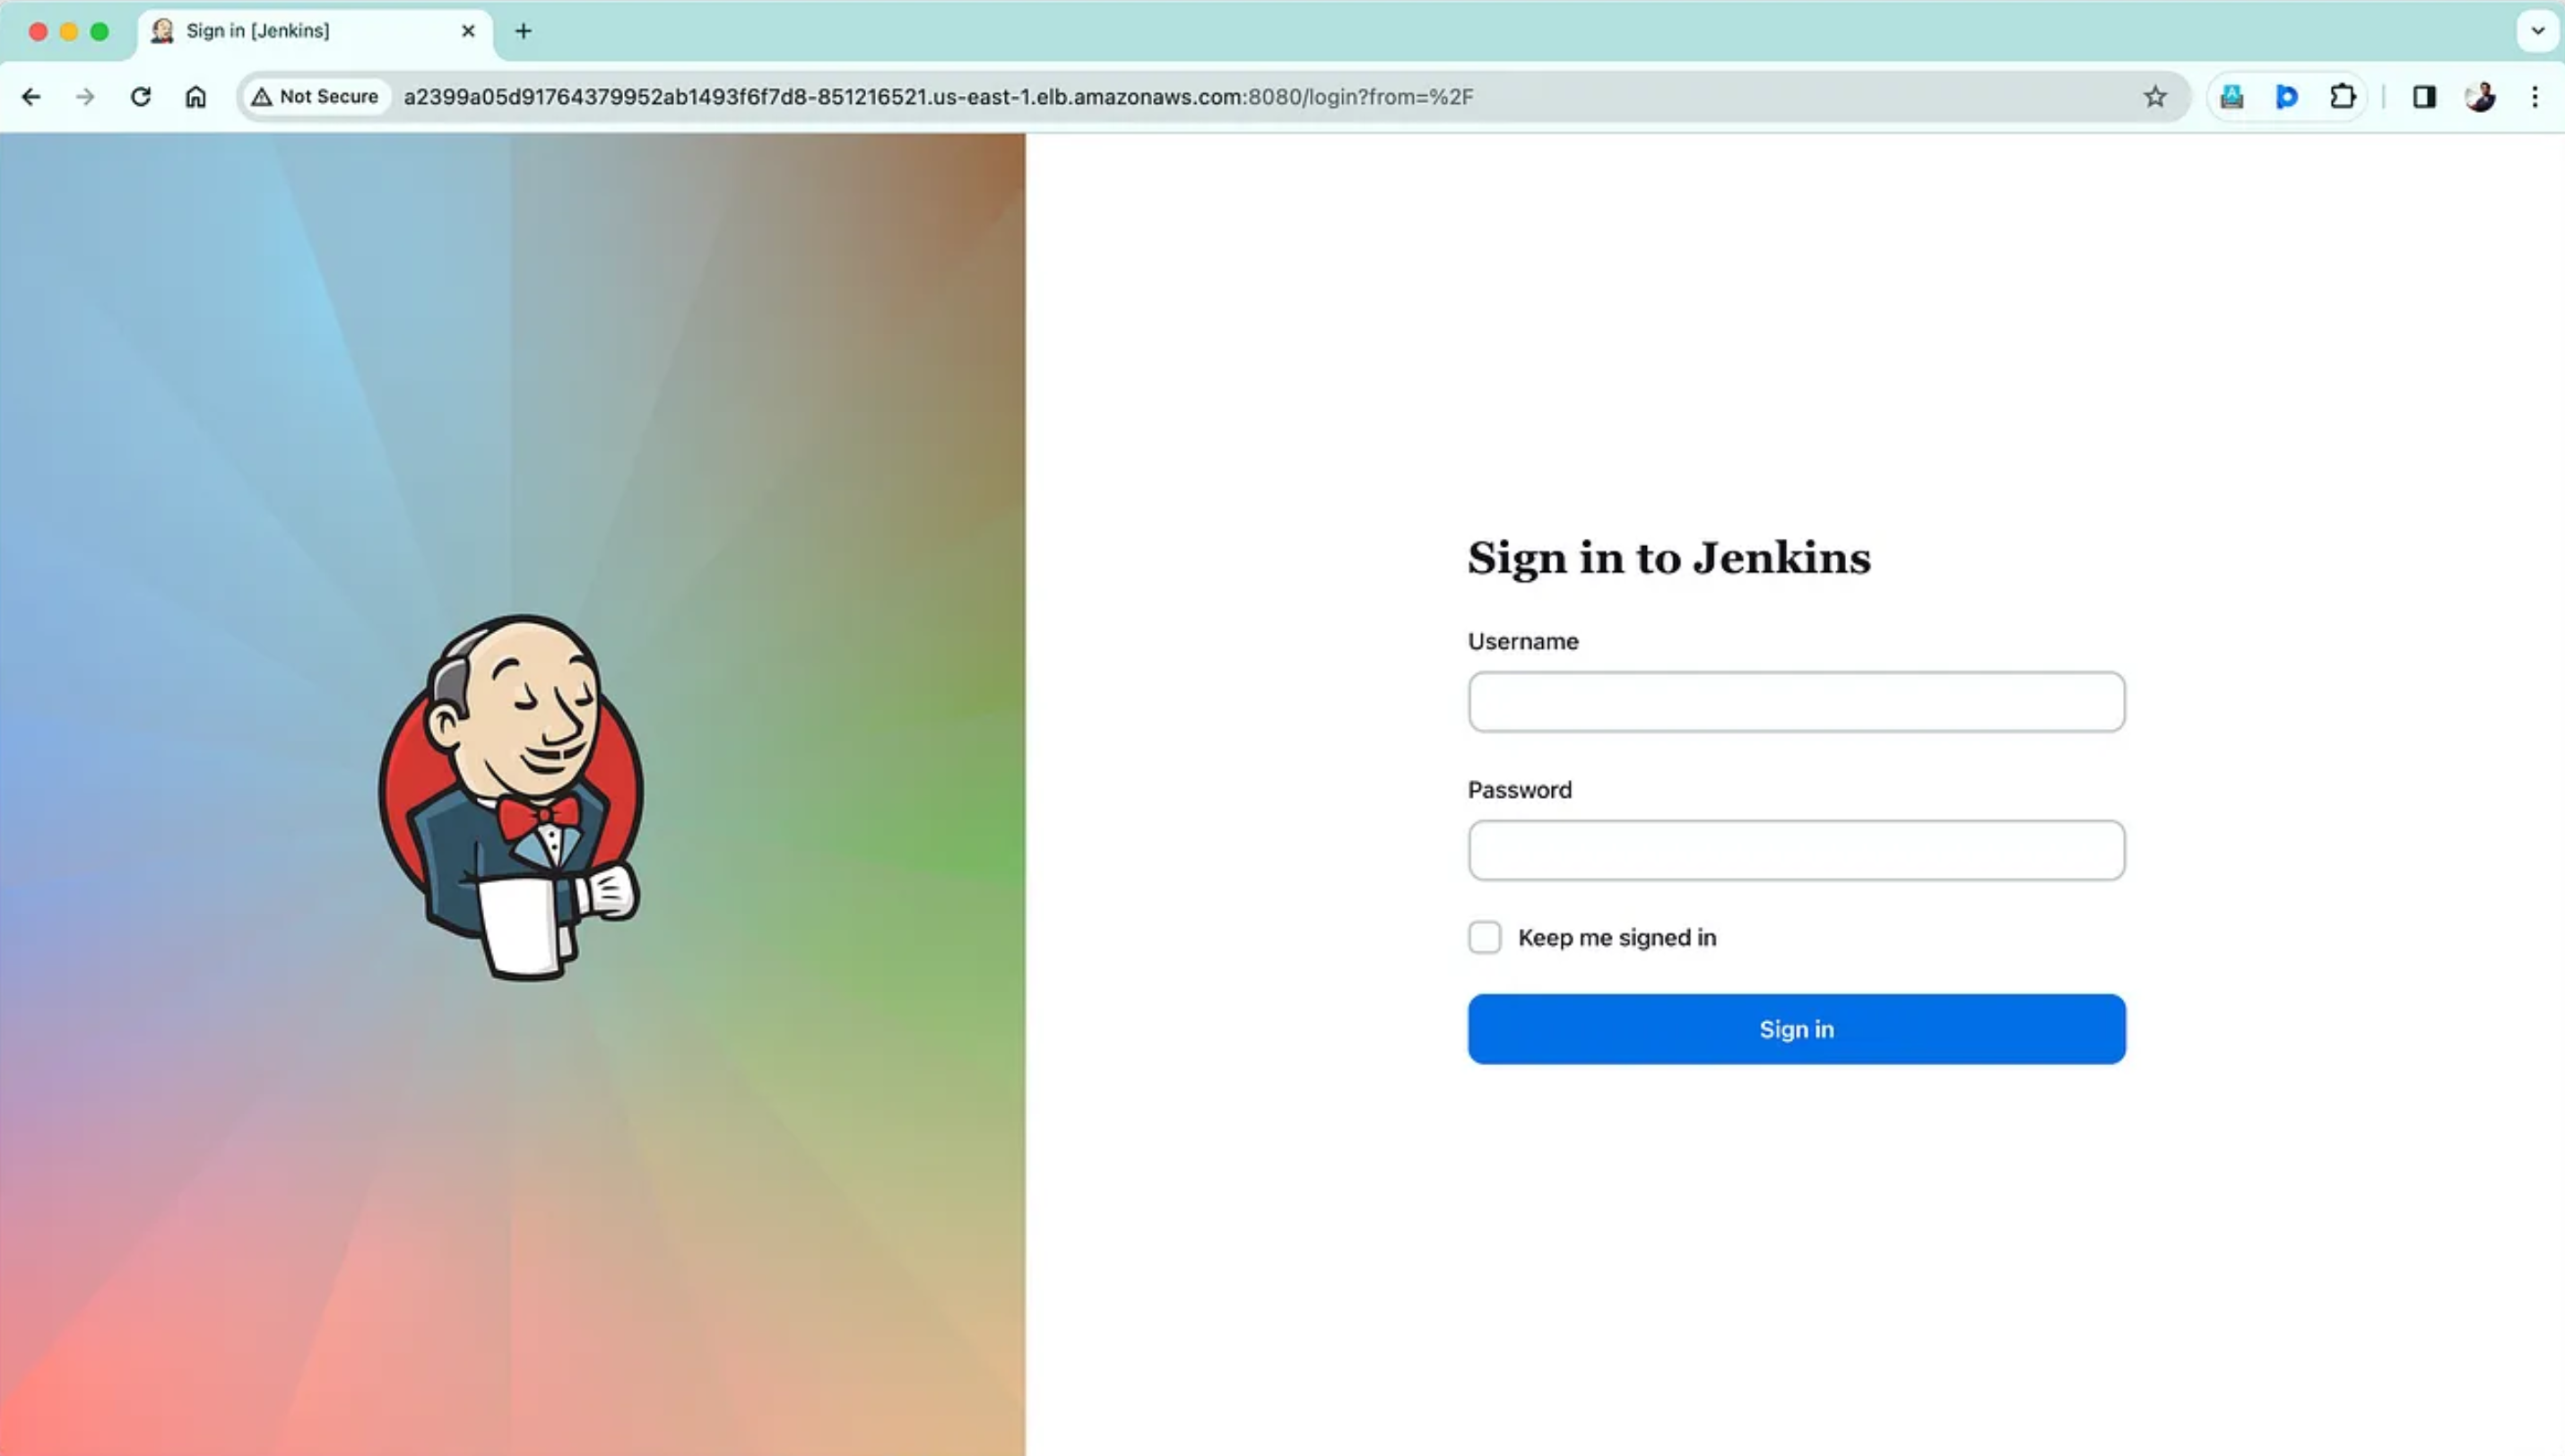
Deployed Jenkins service on Kubernetes
And there you have it. You’ve witnessed firsthand how much simpler it becomes to launch and set up a Kubernetes cluster infrastructure and deploy applications using Cluster.dev. And the best part? It’s incredibly fast and requires minimal coding!
Conclusion
In conclusion, combining Cluster.dev with Helm charts offers a streamlined approach to Kubernetes infrastructure creation and application deployment. Leveraging Cluster.dev templates enables us to efficiently generate infrastructure components, eliminating the time and complexity of manual setup. This integration is highly beneficial, enhancing productivity by bridging the gap between Kubernetes and developer teams.